How to Schedule Instagram Posts
·Updated ·8 min read
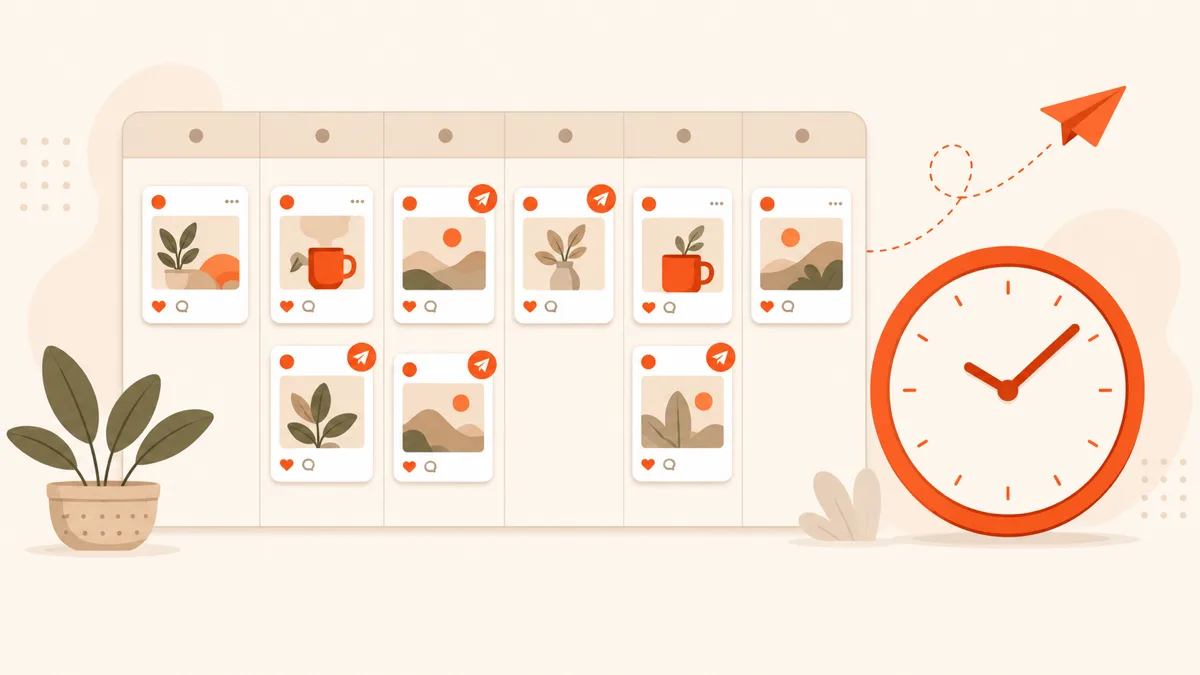
There are three ways to schedule an Instagram post: in the Instagram app itself, in Meta's free Business Suite on desktop, or with a social media scheduler that posts to Instagram and your other networks at the same time. This guide walks through all three, step by step, shows you when each one makes sense, and explains how to edit, reschedule, and recover posts that fail.
If you just want the fastest route: to schedule to a single Instagram account for free, use the Instagram app - you'll need a free professional account. If you also post to Facebook, X, LinkedIn or TikTok, a scheduler will save you the repetitive work of rewriting the same update in every app.
Schedule a post in the Instagram app (free)
Instagram's own app can schedule posts and Reels - no extra tool required. The only prerequisite is a professional account (business or creator). If you're on a personal account, switching is free: go to Settings → Account type and tools → Switch to professional account. It takes a minute and also unlocks audience insights.
- Tap + to create a post or Reel, add your media, and write the caption as usual.
- On the final screen, tap Advanced settings.
- Turn on Schedule this post and pick a date and time - up to about 75 days ahead.
- Go back and tap Schedule. The post now publishes automatically at the time you chose.
Scheduled content lives under Profile → menu → Scheduled content, where you can review everything before it goes live. For the current list of what can be scheduled in-app, including current exclusions, see Meta's Instagram scheduling guide. This is the right choice if Instagram is the only place you post and you plan from your phone.
Schedule Instagram posts in Meta Business Suite (free)
Meta Business Suite is Meta's free desktop tool, and it covers the one big gap in the app: Stories. It can schedule posts, Reels and Stories to Instagram, publish the same post to a linked Facebook Page at the same time, and show everything in a calendar view.
- Open Meta Business Suite and make sure your Instagram account is connected.
- Click Create post (or Create story / Create reel), choose Instagram as the placement, and add your content.
- Instead of clicking Publish, open the dropdown arrow next to it and choose Schedule.
- Pick a date and time and confirm.
The Planner tab shows your queue as a weekly or monthly calendar, which makes it easy to spot gaps in your cadence. Use Business Suite when you plan from a desktop, need Stories, or want to hit Facebook and Instagram in one step.
Edit, reschedule, or delete a scheduled post
Plans change, so it helps to know where scheduled posts live. In the Instagram app, open Profile → menu → Scheduled content; in Business Suite, open the Content tab and filter by Scheduled. From either place you can:
- Edit the caption or media before it publishes.
- Reschedule it to a new date and time.
- Delete it, or publish it immediately if plans move up.
One caveat: once a post has gone live you can edit its caption, but you can no longer change its scheduled time - so it pays to double-check the slot before you confirm.
Schedule Reels and Stories
Reels schedule exactly like posts - both in the app and in Business Suite. Stories are the exception: the Instagram app can't schedule them, so you need Business Suite on desktop or a scheduler that supports Stories. Two things to keep in mind with vertical content:
- Format matters. Reels and Stories are vertical (9:16); a landscape clip gets cropped awkwardly. Check the Instagram Story size guide before you queue one.
- Uploads take time. A large video can take several minutes to process. Schedule it well before the slot rather than a minute ahead, so processing finishes in time.
Schedule Instagram alongside your other networks
Native scheduling falls apart the moment you also post to Facebook, X, LinkedIn or TikTok - you end up rewriting the same post in five different tools and juggling five different calendars. A scheduler lets you prepare and queue supported networks from a single view.

Donivo connects your Instagram account alongside Facebook, X, YouTube, TikTok, LinkedIn, Threads and Bluesky. Write your post, pick the accounts, set a time, and Donivo publishes it for you - retrying automatically and emailing you if anything fails. You can queue posts as far into the future as you like, well beyond Instagram's 75-day native limit.
Native scheduling vs. a social media scheduler
| Instagram app | Meta Business Suite | Scheduler (e.g. Donivo) | |
|---|---|---|---|
| Cost | Free | Free | Free tier, paid upgrades |
| Account type | Professional only | Professional only | Professional only |
| Stories | No | Yes | Depends on the tool |
| Platforms | Instagram only | Instagram + linked Facebook | 8 networks at once |
| How far ahead | Up to 75 days | Varies by content type | Unlimited |
| Failed-post retry | Manual | Manual | Automatic + email alert |
| Best for | One account, phone-first | Instagram + Facebook, desktop | Multi-platform posting |
In short: if Instagram is the only place you post, the app or Business Suite is all you need. If you manage several networks, a scheduler saves the repetitive work and gives you one calendar for everything.
Why scheduled posts fail - and how to avoid it
A scheduled post can still miss its slot. Having built Instagram's publishing flow into Donivo, we see the same handful of causes again and again - and they're all easy to head off:
- Expired connection. Instagram access tokens expire and are periodically revoked, which can cause a queued post to fail. Reconnect the account if you see an authentication warning.
- Account type changed. If the account is switched back to personal, or its link to a Facebook Page is removed, scheduled posts stop publishing.
- Media limits. Files that exceed Instagram's size limits, or images outside its supported aspect ratios, will be rejected. Check the Instagram post size guide before you queue.
- No retry. Native scheduling won't try again if publishing fails. A scheduler that retries automatically and alerts you - like Donivo - keeps a hiccup from becoming a missed post.
How often should you post to Instagram?
Scheduling makes a consistent cadence realistic, but more isn't automatically better. Start with a cadence you can sustain, then use Instagram Insights to compare reach, watch time, saves, and profile actions by format. Batch the next week or month, review the results, and adjust the queue instead of following a universal posts-per-week rule.
Post at the right time
Scheduling only helps if you pick good slots. Use the free best time to post on Instagram tool to find Instagram's strongest windows in your timezone, and check your caption length with the character counter before you queue it. Then batch a week or a month of posts in one sitting, so your account stays active even when you're heads-down on other work.