How to Schedule LinkedIn Posts Effectively in 2026
·Updated ·12 min read
You've written a strong LinkedIn update, attached the right image, and found a useful angle. Then a meeting runs over, another task takes priority, and the ideal publishing window disappears. The post eventually goes live, but only after the momentum behind it has cooled.
Learning how to schedule LinkedIn posts solves that operational problem. You can prepare content while your ideas are fresh, publish it during a suitable audience window, and reserve your working time for replying to comments and creating the next post. The important choice isn't only whether to schedule. It's whether LinkedIn's native workflow or a third-party scheduler better fits your account type, permissions, content volume, and review process.
Why Schedule LinkedIn Posts
A scheduled post removes the need to remember a manual publishing task at the exact moment you want to be visible. That matters when your day is split between client work, internal meetings, sales conversations, and content creation. You can draft an update in the morning, review it calmly, and set it to publish later instead of keeping LinkedIn open and waiting for the right moment.
Scheduling also separates content production from content distribution. A practitioner can batch several ideas, check links and media, then place each post into a deliberate calendar. That approach creates a more dependable presence without requiring constant app-checking, which is especially useful for teams managing more than one social network. Donivo's practical guidance on posting on social media also treats planning as part of the publishing workflow, rather than as an afterthought.
Practical rule: Schedule the post, but keep the conversation live. Publishing can be automated, replies can't.
Timing still needs judgment. LinkedIn's own guidance says weekdays generally outperform weekends and points to business- time windows, while newer benchmark evidence identifies later weekday activity as another pattern worth testing. Scheduling gives you the control to test those windows instead of relying on whichever hour you happen to be free.
The result is less last-minute publishing, more consistent execution, and a clearer record of what you planned to say. Native LinkedIn scheduling is usually enough for an individual post, while a third-party system becomes more useful when you need several networks, recurring slots, team coordination, or a shared content calendar.
Account Requirements and Permissions
Start by identifying the account that will publish the post. A personal profile carries an individual member's voice, while a LinkedIn Page represents an organization and depends on administrative access. These are separate scheduling workflows, so a missing scheduling control may reflect the account type or permissions rather than a platform fault. Check LinkedIn's account-specific scheduling guidance before troubleshooting.
A personal profile uses its standard post composer. The member needs access to that profile, but no Page role or approval hierarchy applies to native profile scheduling.
Pages have a defined permission structure:
- Content admin: Can schedule Page posts and newsletter articles with the appropriate Page access.
- Super admin: Can schedule Page posts and newsletter articles, with broader control over the Page.
- Other members: Cannot schedule for the Page unless they receive an eligible administrative role.
LinkedIn's Page guidance states that only a super admin or content admin can schedule a post or newsletter article. It also sets Page scheduling between 1 hour and 3 months in advance. Review the official Page scheduling permissions and limits before setting campaign dates.
Choose the workflow before writing
Select the personal profile or Page first, then confirm the active identity and publishing permission. This prevents a completed draft from being tied to the wrong account. If a colleague manages the Page, request the required role instead of sharing login details.
Native scheduling keeps the post inside LinkedIn and suits direct publishing from one profile or Page. A third-party scheduler can centralize several networks and content calendars, but its connection still needs authorization for the selected account. The broader trade-offs are summarized in this guide to native social media scheduling.
Permission checks also matter when a team changes tools. A scheduler may display a connected Page, yet the user who authorized it can still lose access or lack the role needed to publish. Confirm the account, role, and intended publishing window before building the queue.
Native LinkedIn Scheduling Process
LinkedIn's built-in scheduler is the simplest route when you're publishing directly to one personal profile or Page. LinkedIn's general help confirms that users can create posts and schedule them to go live later, so you don't need a separate product to use the basic capability. The official LinkedIn post help is the right reference if the control looks different in your account.

Schedule from desktop
- Open the correct composer. From a personal profile, choose the option to start a personal post. For a Page, switch into the Page identity before composing.
- Build the post. Add the text, image, video, or link you want to publish. Read the copy in the final preview, because a scheduled post should need minimal intervention later.
- Open scheduling. Select the clock or scheduling control beside the publishing button.
- Set the date and time. Choose a future slot that fits your audience's local business hours. Check the displayed timezone instead of assuming it matches your audience.
- Review and confirm. Inspect the text, media, link preview, and selected account, then confirm the schedule.
For Pages, LinkedIn says the scheduled post will publish automatically at the set date and time. That makes the account selection and timezone review important, because the system will deliver what you approved rather than wait for a final manual check. The native LinkedIn post scheduling workflow provides useful context for fitting this process into a broader content routine. For the current scheduling window, also keep LinkedIn's scheduling guide nearby.
Use mobile when the idea is ready
The mobile flow follows the same logic. Open the LinkedIn app, tap the post control, write or paste the update, attach media if needed, select the clock icon, choose the date and time, review the post, and confirm scheduling. Mobile is useful for capturing timely ideas, but desktop is often more comfortable for checking longer copy, links, and visual details.
To manage queued posts, open the scheduling area from the composer and view the scheduled list. Depending on the account and current LinkedIn interface, you can modify the schedule or remove a queued post. Treat the list as an operational checklist: verify the publishing identity, date, timezone, and final creative before leaving the post in the queue.
Native scheduling is efficient for straightforward publishing, but it has a narrower management experience than a dedicated content calendar. If several people need review, or if you're coordinating LinkedIn with other networks, a third-party workflow may reduce repetitive setup.
Edit, reschedule, or delete a scheduled post
Plans change, so it helps to know where scheduled posts live. Open the composer, click the clock icon, then choose View all scheduled posts. From that list you can:
- Edit the text or media before it publishes.
- Reschedule it to a new date and time.
- Delete it if plans change.
One caveat: once a post has gone live you can edit its text, but you can no longer change its scheduled time - so it pays to double-check the slot before you confirm.
Schedule to a personal profile vs. a Company Page
The native scheduler works the same way in both places, with one difference that trips people up: to schedule for a Company Page you need an admin role on that page, and you have to switch the composer to post as the page before you add your content. If the clock icon publishes to your personal profile by mistake, check which identity the composer is set to at the top before you schedule.
Third Party Scheduler Setup and Workflow
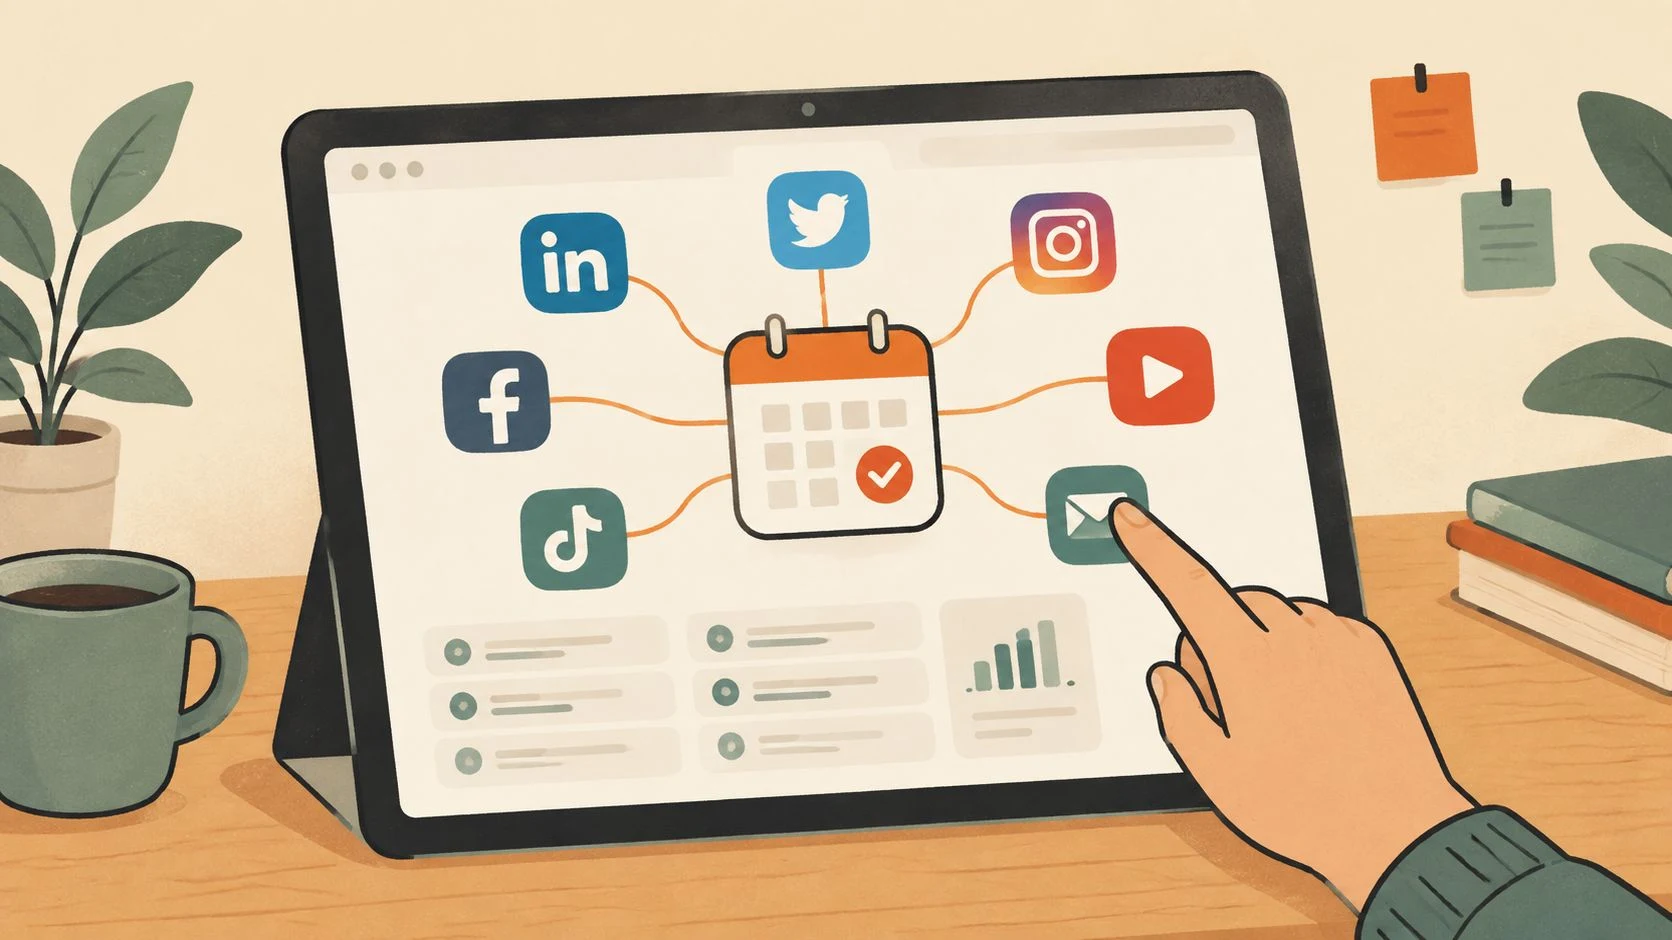
A third-party scheduler makes sense when LinkedIn is one part of a broader publishing system. Instead of opening each network separately, you connect the approved account, prepare content in a central composer, and assign a publishing time. The trade-off is that you gain workflow controls while becoming dependent on the scheduler's connection, supported formats, and publishing integration.
Start with the account connection:
- Create or open your scheduler workspace.
- Choose LinkedIn as a channel.
- Connect through OAuth. Authorize the personal profile or Page you're allowed to manage. A reputable workflow should send you through LinkedIn's authorization process rather than ask for your LinkedIn password.
- Confirm the destination. If multiple profiles or Pages are available, select the exact publishing identity before drafting.
- Check permissions. The connected account must retain the ability to publish. Removing Page access or allowing the authorization to expire can interrupt delivery.
Donivo supports a centralized composer for LinkedIn and other networks, with scheduled publishing after an account is connected through OAuth. It also provides queue and calendar-based planning, media attachments, recurring slots, automatic retries, and email notifications for failed publishes. Those features address a different need from LinkedIn's native composer, which is better suited to a direct, single-network post.
Compose for LinkedIn, not just everywhere
Cross-network publishing saves time, but identical copy rarely fits every channel. Write the core idea once, then adjust the opening line, media crop, call to action, and link treatment for LinkedIn. Preview the finished post in the scheduler before placing it in the queue.
A useful comparison resource is this LinkedIn post scheduler guide, which can help you evaluate the basic features and workflow expectations. Use any tool as an operational aid, not as a substitute for checking the final post.
For the queue itself, assign a date and local time, add campaign notes if your team needs them, and leave space for manual engagement after publication. Recurring slots can support repeatable content categories, but recurring content still needs review. A post that was accurate last month may be outdated, poorly timed, or repetitive now.
Third-party scheduling is strongest when you need shared planning, multiple channels, reusable publishing slots, or delivery alerts. Compare those needs against the simplicity of native LinkedIn scheduling with this overview of social media scheduling tools.
Native scheduling vs. a social media scheduler
| Criteria | LinkedIn native scheduler | Scheduler (e.g. Donivo) |
|---|---|---|
| Cost | Free | Free tier, paid upgrades |
| Platforms | LinkedIn only | 8 networks at once |
| How far ahead | 1 hour to 3 months | Unlimited |
| Failed-post retry | Manual | Automatic + email alert |
| Best for | One LinkedIn account | Multi-platform posting |
In short: if LinkedIn is the only place you post, the native scheduler is all you need. If you manage several networks, a scheduler saves the repetitive work and gives you one calendar for everything.
Best Practices and Optimization Tips
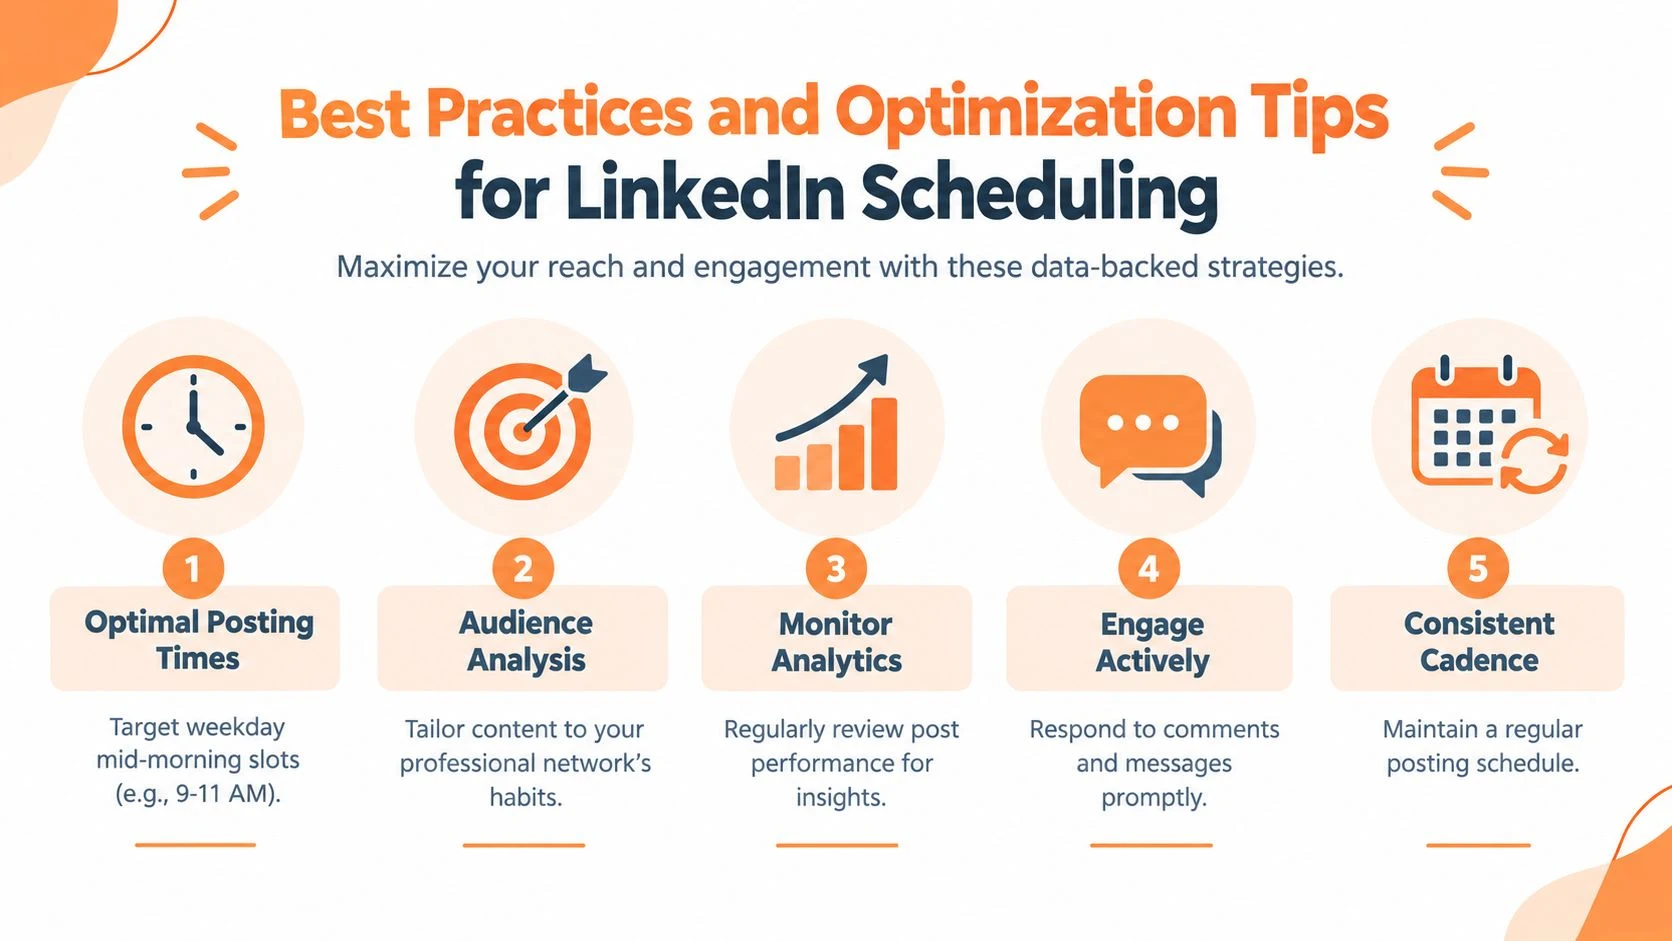
Scheduling solves the delivery problem, not the strategy problem. The best calendar combines a sensible initial timing hypothesis with audience-specific testing, clear content formats, and regular performance review.
LinkedIn's own 2026 guidance cites HubSpot's timing data for strong weekday daytime windows: 9 a.m. to 12 p.m., 12 p.m. to 3 p.m., and 3 p.m. to 6 p.m. LinkedIn's timing guidance also identifies Mondays, Wednesdays, and Tuesdays as the strongest days in that cited order, while noting that mid-morning and lunch-hour posts from Tuesday through Thursday can be especially engaging.
That isn't a universal publishing command. Buffer's 2026 benchmark analyzed 4.8 million LinkedIn posts and found the highest engagement clustering in the 3 p.m. to 8 p.m. weekday range. Buffer's analysis demonstrates why timing advice evolves and why your testing plan should include both daytime and later weekday slots.
Build a testing routine
Start with the audience's timezone, not your own. A North American audience, a European audience, and a distributed professional community may check LinkedIn at different points in the working day. Test a small set of weekday windows, keep the content type reasonably comparable, and record impressions, reactions, comments, clicks, and meaningful conversations.
Use the LinkedIn best time to post tool as a planning aid, then validate its recommendations against your own analytics. Treat timing as one variable. A practical post with a clear point can outperform a perfectly timed post with a weak opening.
Improve the post before it enters the queue
- Preview link cards: Confirm that the title, image, and destination URL render correctly before scheduling.
- Use focused hashtags: Choose tags that describe the subject and help the right professional audience understand the post. Don't fill the caption with unrelated terms.
- Add tracking carefully: Use UTM parameters when you need to connect LinkedIn traffic with website activity, and keep the naming system consistent across campaigns.
- Review recurring content: Recheck evergreen posts before they repeat. Update references, examples, links, and calls to action.
- Respond after publishing: Schedule the distribution, then return to answer comments and messages while the conversation is active.
Visual assets also influence whether a profile update feels credible. If you're preparing a new profile image or campaign creative, these framing, lighting, and wardrobe tips can help you make the visual presentation fit a professional LinkedIn context. The same principle applies to scheduled media: check the crop, contrast, and legibility before the post leaves your control.
How often should you post to LinkedIn?
Scheduling makes a consistent cadence realistic, but more isn't automatically better. Start with a cadence you can sustain, then use LinkedIn's analytics to compare impressions, engagement, and follower growth by topic and format. Batch the next week or month, review the results, and adjust the queue instead of treating a universal posts-per-week number as a rule.
Scheduling only helps if you pick good slots. Use the free best time to post tool to find LinkedIn's strongest windows in your timezone, and check your post length with the character counter before you queue it. Then batch a week or a month of posts in one sitting, so your presence stays active even when you're heads-down on other work.
Common Errors and How to Fix Them
A scheduled post can fail even when the content is ready. Check the account, timing, and connection in that order.
- Permission denied: You lack the Page super admin or content admin role. Request the correct access, then reconnect the account if needed.
- Invalid time: Page scheduling accepts posts only within LinkedIn's permitted advance window, from 1 hour to 3 months. Select a time inside that range.
- Wrong identity: The composer is using your personal profile instead of the Page, or the reverse. Confirm the publishing identity before saving.
- Timezone mistake: The selected timezone does not match the audience or your planning calendar. Verify the displayed timezone, then reschedule.
- Expired connection: A third-party authorization has lapsed. Reconnect through OAuth and confirm the destination account.
Personal profiles and Pages can expose different scheduling options, so confirm the destination before troubleshooting the tool itself. If a post is missing, inspect the queue first, followed by permissions, account connection, format, and publishing time.
Conclusion and Next Steps
You now know how personal profiles and Pages differ, how to schedule natively, and when a third-party workflow is more practical. Choose one path, queue your next LinkedIn posts for tested weekday windows, and review performance so your calendar improves with experience.
Donivo lets you connect LinkedIn, create posts in a centralized composer, and schedule them alongside other networks using queues or calendar slots. Visit Donivo to set up a publishing workflow that reduces manual switching and keeps scheduled delivery visible.