How to Schedule Bluesky Posts: Native Options and Schedulers
·Updated ·13 min read

You've written a week's worth of Bluesky content, but the publishing window keeps colliding with meetings, client work, or time zones. The obvious question is how to schedule posts on Bluesky without handing a third-party service your main account password or discovering after launch that a queued post never went live.
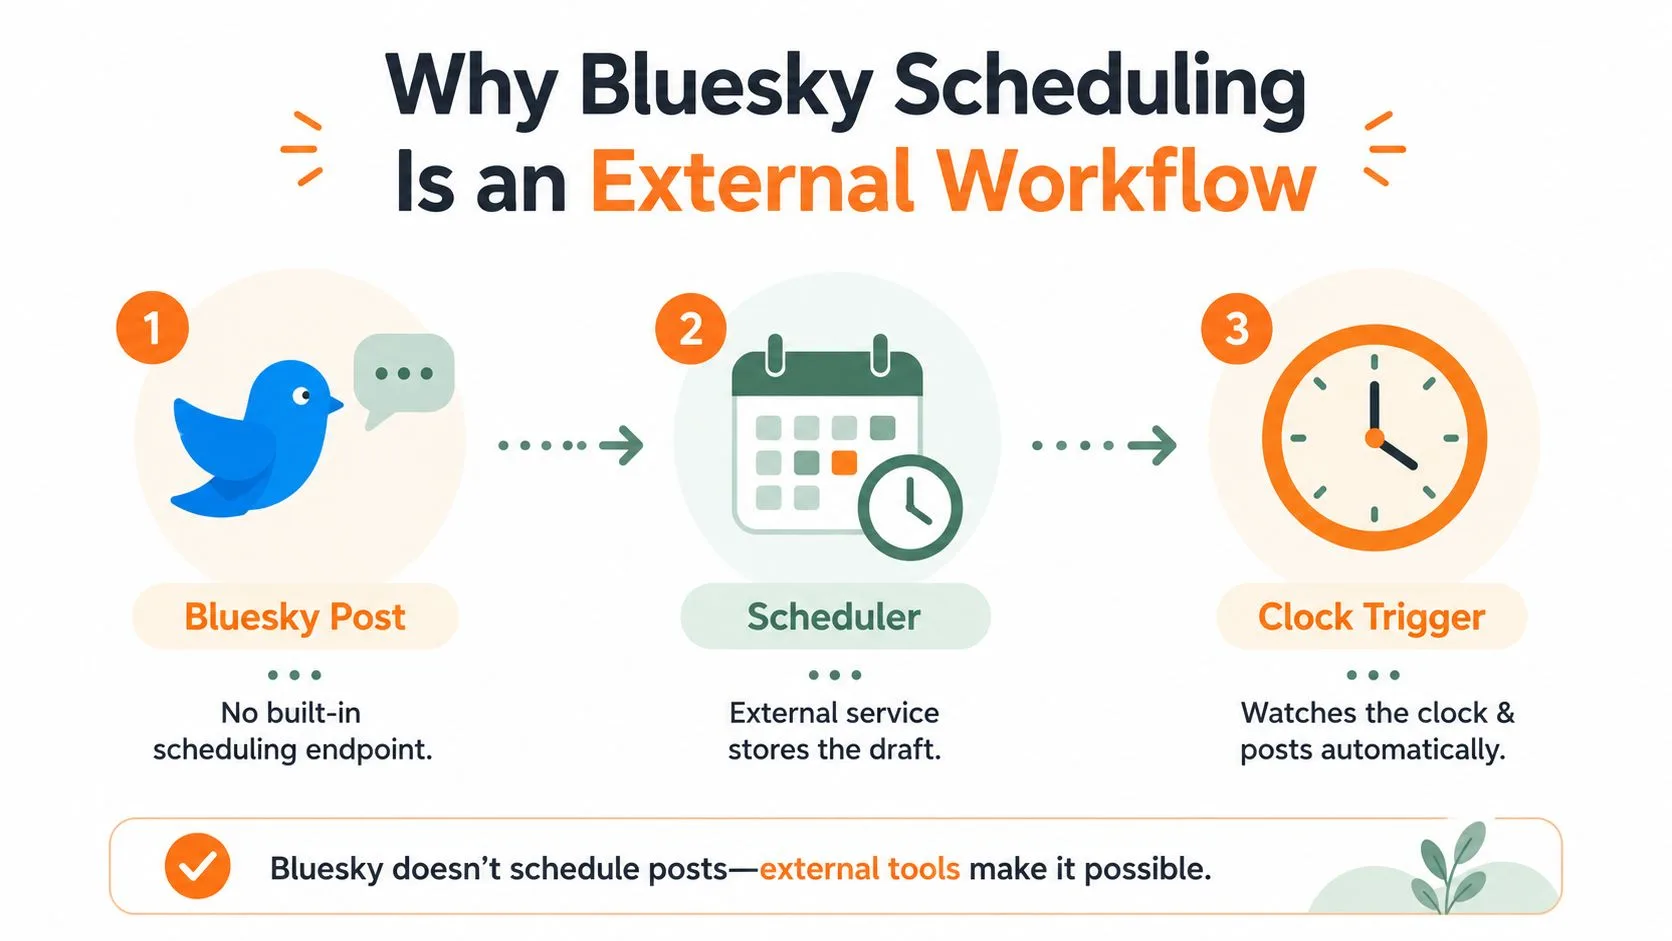
The practical answer is less like switching on a feature and more like building a small publishing operation. Bluesky doesn't provide native post scheduling, so an external scheduler must store the draft, wait for the target time, authenticate with Bluesky, publish the record, and handle any failure that occurs along the way. At the time of this September 1, 2026 review, the official Bluesky app and web composer do not expose a native scheduling control. This status was checked directly in the authenticated Bluesky web composer on the date above.
For a single spontaneous post, manual publishing is the shortest route. Scheduling helps you publish at the right time, coordinate campaign content, and manage posts across multiple social networks. For the broader workflow, see the practical social media scheduling guide.
Bluesky's audience and activity can change over time, so treat timing assumptions as a testable hypothesis rather than a permanent rule. For current audience context, see TechCrunch's reporting on Bluesky's active-user trends.
A scheduler is more than a calendar entry. It stores the approved copy, media, destination account, timezone, and publication time, then hands that saved job to a publishing worker. That distinction is why validation, delivery status, retries, and a final live-post check matter. For a technical explanation of why scheduling sits outside Bluesky's immediate publish API, see this Bluesky scheduling API overview.
What Bluesky offers natively today
The official composer currently provides immediate publishing, drafts, interaction controls, media, GIF, emoji, language, and the 300-character counter. It does not show a date, time, calendar, or scheduling action. That makes the native choice a manual workflow: prepare the post elsewhere, set a reminder, then open Bluesky and publish it at the intended time.
Composer controls can change. Check the current app and web composer before relying on this status for a future campaign. The rest of this guide covers the OAuth-connected route that is available now.
How to schedule a Bluesky post with Donivo
You connect Bluesky through its secure OAuth authorization flow, where you review and approve the access Donivo needs. Bluesky's OAuth client documentation explains how end-user clients use OAuth, while the AT Protocol OAuth overview describes the protocol profile, PKCE, DPoP, and token refresh model.
If you are designing a custom integration rather than using a hosted composer, the PostPulse Bluesky scheduling API reference is a developer-oriented example. The rest of this guide stays focused on the reader workflow inside Donivo.
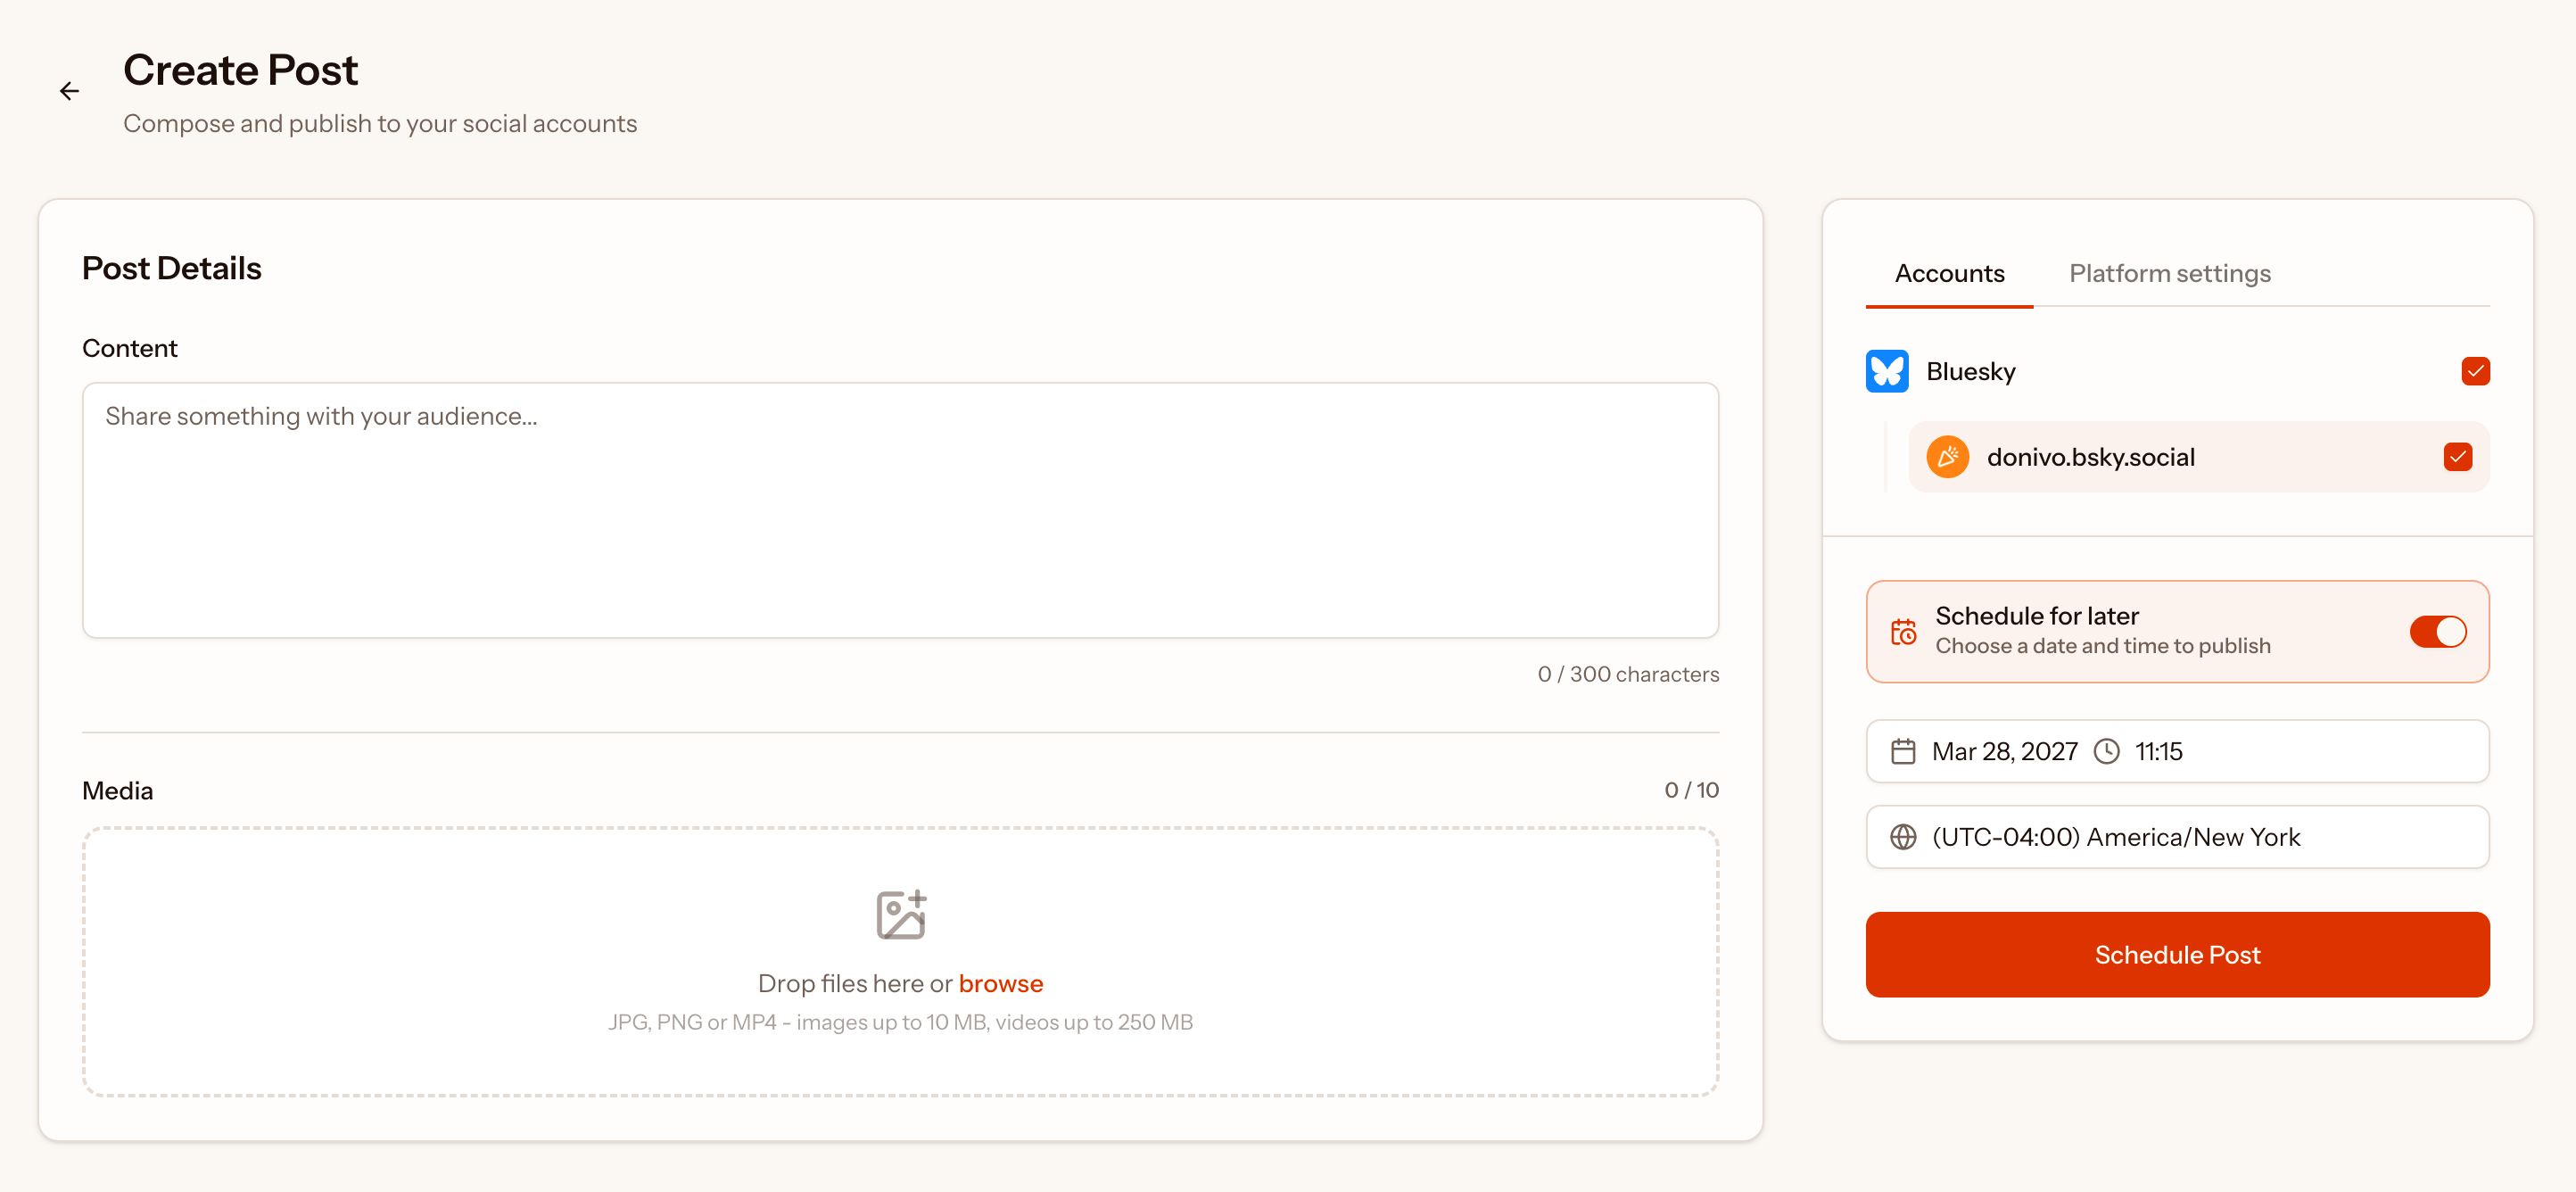
- Connect Bluesky through OAuth. Add Bluesky in Donivo, continue to the Bluesky authorization screen, and review and approve the requested publishing access.
- Choose the destination accounts. Select the Bluesky account and any other connected accounts that should receive a tailored version of the campaign.
- Prepare the Bluesky version. Keep the copy within 300 characters and choose text only, up to four images, or one video that fits the current Donivo limits.
- Set the publication time. Choose the date, time, and timezone, then save the post to the scheduled queue.
- Verify the saved and live post. Open the queue entry before publication, then inspect the live Bluesky post after delivery.
Connection checks before you load the queue
- Confirm that the Bluesky authorization screen shows the intended account before approving access.
- Return to Donivo and verify the handle or profile attached to the new connection.
- Schedule one low-risk post first, then check both its queue status and live result before moving a larger campaign.
- If access expires, reconnect through OAuth and review pending items individually instead of duplicating them.
If you manage several profiles, keep each account connection and owner distinct. The multi-account scheduling workflow has a useful checklist for separating those responsibilities.
Think of every scheduled post as a job with a lifecycle: prepare the final version, validate its account and media, save it to the queue, attempt delivery at the selected time, and keep the result visible as published or needing review. Keeping the original payload available makes a failed post recoverable instead of forcing you to recreate it from memory.
One-off and recurring Bluesky publishing
Use a one-off schedule for a launch, announcement, event, or other message tied to a specific moment. For a recurring series, treat each occurrence as a separate post: review the copy, account, media, and timing again instead of assuming that one approval remains correct forever.
Donivo currently schedules individual posts and does not expose a recurring rule. You can still plan a series by creating separate queue items, which makes it easier to remove an outdated occurrence or adapt the next one when circumstances change.
If a pending post changes, edit or reschedule that item before creating another copy. Delete an item only after confirming that it is no longer needed, and do not publish a duplicate while the original is still pending or retrying.
Choose the timezone before you choose the slot
A scheduled time is only useful when everyone understands which clock it uses. Select the timezone that matches the campaign plan, then compare the saved local time with the time shown on the queue. This is especially important when the account owner, reviewer, and audience work in different regions.
- Record one canonical campaign timezone instead of relying on each reviewer's browser timezone.
- Check dates around daylight-saving changes, when a local slot can move by an hour even though the calendar date looks unchanged.
- Show the intended local date and time in the approval note so the person checking the queue is not guessing.
- Reopen the saved queue item after scheduling and confirm the account, date, time, and timezone before leaving the task.
Bluesky formats and Donivo limits
Bluesky's official post documentation covers text records, image embeds with up to four images, link cards, and video embeds. Donivo currently validates the following formats before a scheduled post enters its publishing flow. The product rules are the actionable preflight because a third-party publisher can impose stricter limits than the network itself:
Third-party limit summaries do not always match one another. For example, PublishQ's Bluesky API limit overview describes a broader video-duration allowance than Donivo currently accepts. Use Donivo's 100 MB and 1–60 second validation for scheduled posts, and check current official documentation when platform behavior changes.
- Text: up to 300 characters.
- Text-only post: copy without an attached media file.
- Image post: up to four images, with each image at or below 1 MB.
- Video post: one video at or below 100 MB and between 1 and 60 seconds.
Edit for Bluesky, not for the source platform
A caption copied from LinkedIn, Threads, or another long-form network may be too long or depend on context that Bluesky does not provide. Put the useful point near the beginning, remove repeated setup, and check that any URL supports the message rather than replacing it. Keep image order, crop, playback, and alt text in the same review as the copy.
Do not combine the image and video paths in one scheduled post. Check the copy with the free character counter, then review the composition in the post preview. The preview is a useful preflight, but the live Bluesky post remains the final source of truth for crop and rendering.
Manual Bluesky publishing versus a centralized scheduler
| Need | Manual Bluesky publishing | Donivo |
|---|---|---|
| Best fit | Immediate or occasional Bluesky-only posts | Planned Bluesky posts and multi-network campaigns |
| Timing | You return and publish at the intended time | The saved queue controls the publication time |
| Connection | Directly inside the official Bluesky composer | Bluesky OAuth authorization |
| Recurring work | Recreate and publish each occurrence manually | Schedule individual posts; no recurring rule |
| Other network versions | Prepared and tracked in separate workflows | Tailored versions share one campaign workflow |
| Delivery handling | You confirm the live result manually | Supported temporary failures can retry, with alerts when attention is needed |
If your workflow is primarily short-form video production, a specialist tool such as Streamgen's content scheduler may be a separate production stage. This guide focuses on the final Bluesky publishing workflow and its delivery checks.
A migration-neutral scheduling checklist
Moving an active queue is mostly an inventory and verification task. The checklist below works whether your previous workflow used reminders, a spreadsheet, a calendar, or another publishing setup.
- Keep the existing queue active until every future Bluesky item has been accounted for.
- Inventory each unpublished post, including source copy, media, alt text, destination account, date, time, and timezone.
- Connect Bluesky through OAuth and verify the account handle before recreating any scheduled items.
- Recreate a small batch first, then compare every new queue entry with the inventory.
- Let the first scheduled post publish and inspect the live output before moving the rest of the queue.
- Retire the previous workflow only after duplicate times, missing posts, media, and timezone differences have been resolved.
Build a reliable publishing routine
Scheduling works best as a repeatable review process rather than a last-minute handoff. Keep the source copy, destination edit, approved media, and owner together so a failed or delayed item can be diagnosed without reconstructing the plan.
- Draft in batches, then review each post for its actual Bluesky context instead of publishing a generic cross-network version.
- Use a consistent naming convention for campaigns and assets so the right copy and media stay paired.
- Leave enough time between approval and publish time to replace invalid media, expired links, or a disconnected account.
- Keep an owner responsible for the live check after publication, especially for launch, event, or time-sensitive posts.
- Treat engagement data as feedback for the next batch, not as proof that one universal posting time works for every audience.
A shared social media content calendar can keep the owner, timezone, approval state, and media status visible alongside each scheduled item.
Troubleshoot Bluesky scheduling by symptom
Start with the failure you can see. One focused check is more useful than repeatedly resaving the same post without changing its connection, validation, or media. For a transient delivery issue, wait for the queue to finish its retry cycle before creating a second copy, then confirm the final status.
Symptom: OAuth connection fails or expires
- Check
- Confirm you are signing in on the real Bluesky authorization screen and approving access for the intended account. An expired connection may need a fresh authorization.
- Next action
- Reconnect Bluesky through OAuth, return to the queue, and verify that the correct account is selected before saving again.
Symptom: The draft is rejected before scheduling
- Check
- Count the copy and review the media combination. Donivo allows 300 characters, text only, up to four images, or one video for Bluesky.
- Next action
- Shorten the copy or correct the media combination, then save the revised version instead of retrying the invalid draft.
Symptom: An image or video will not upload
- Check
- Keep each image at or below 1 MB. Keep a single video at or below 100 MB and between 1 and 60 seconds.
- Next action
- Resize or re-export the asset, upload it again, and check the preview before putting the post back in the queue.
Symptom: The scheduled post does not publish
- Check
- Review the Donivo alert, connection state, selected account, and current draft validation. Temporary delivery errors may be retried automatically.
- Next action
- Reconnect or correct the post when the alert identifies an action. Avoid creating a duplicate while a supported retry is still pending.
Symptom: The live post looks different from the draft
- Check
- Open the live Bluesky post and compare its text, image order, crop, video, alt text, account, and publication time with the approved version.
- Next action
- Correct the live post in Bluesky when appropriate, then update the source version before scheduling it again.
Final preflight before the post enters the queue
- Confirm the intended Bluesky account is selected.
- Keep the final copy at or below 300 characters.
- Use text only, up to four images at 1 MB each, or one video at 100 MB and 1–60 seconds; keep image and video in separate post paths.
- Review image order, crop, video playback, alt text, and any links.
- Check the date, time, timezone, and saved queue entry.
- Open the live post after delivery and compare it with the approved version.
Manual publishing remains a practical choice for occasional Bluesky posts. A scheduler becomes useful when timing, coordinated network versions, and delivery follow-up are part of the job. Whichever path you choose, verify the saved queue before publication and the live post afterward. If you want a shared publishing workflow, visit Donivo to connect Bluesky through OAuth.